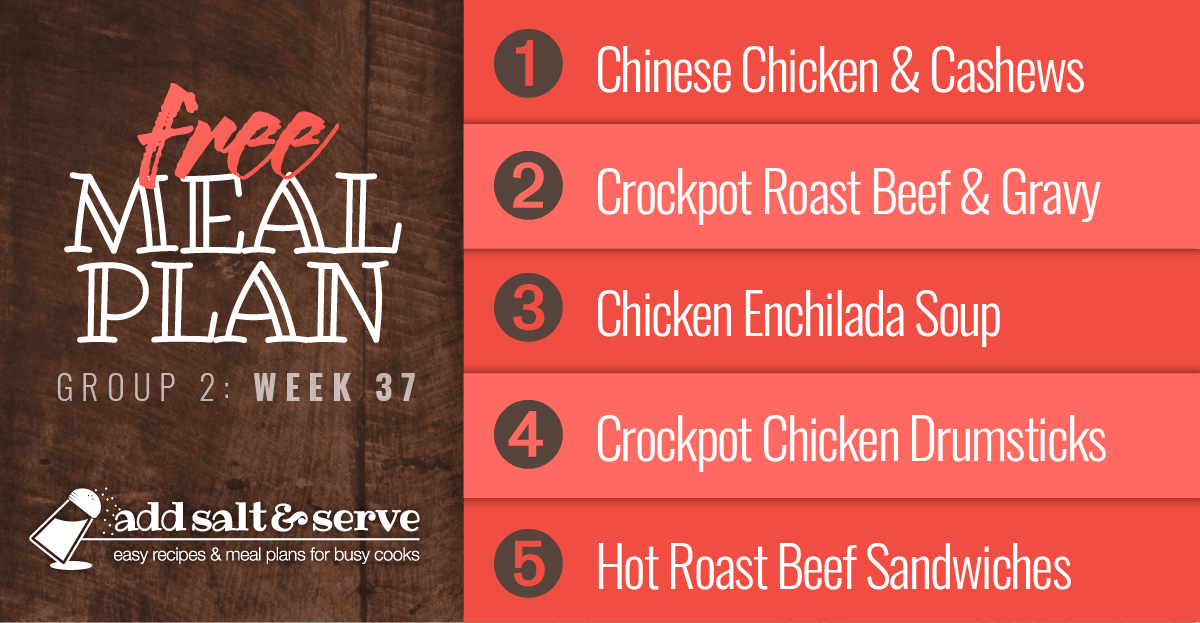
Week 37 Summary |
||
|---|---|---|
Notes for this week |
||
|
||
Day 1 |
||
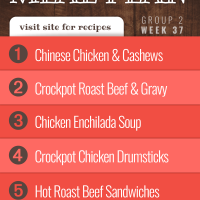
| Chinese Chicken with Cashews over Rice | Green Salad with Asian Dressing | |
Day 2 |
||
| Crockpot Roast Beef & Gravy | Rice | Easy 15 Minute Microwave Acorn Squash |
Day 3 |
||
| Chicken Enchilada Soup | Green Salad with Your Choice Mexican-style Dressing | |
Day 4 |
||
| Crockpot Chicken Drumsticks | Stir-Fried Squash & Bell Peppers | |
Day 5 |
||
| Open-Faced Hot Roast Beef Sandwiches | Mashed Potatoes | Roasted Garlic Broccoli |
Day 1
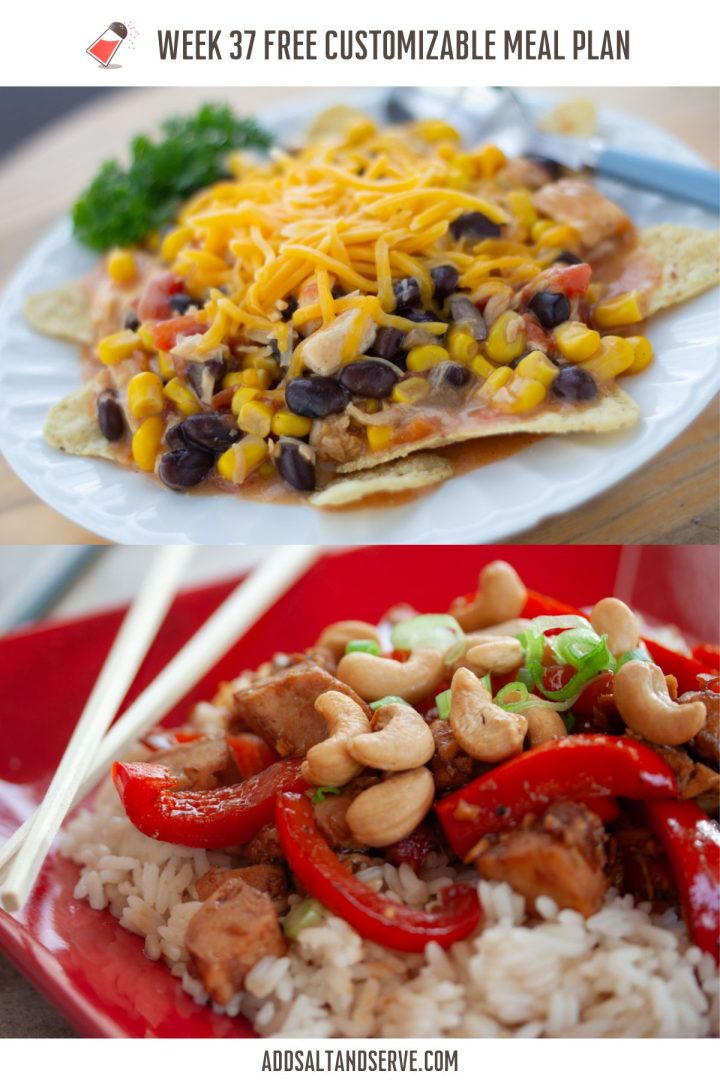
Chinese Chicken with Cashews // Green Salad with Asian Dressing
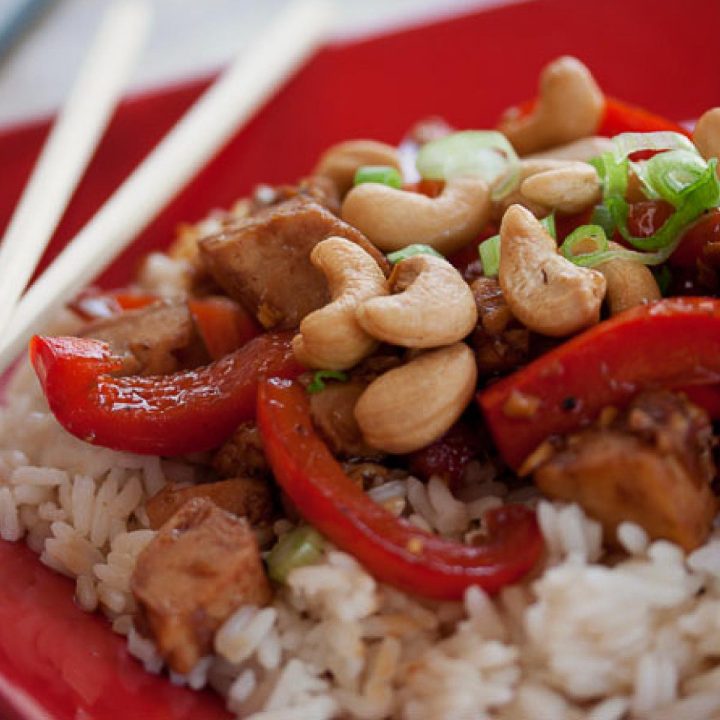
Chinese Chicken with Cashews
Preparing the chicken in a fresh garlic and ginger marinade and cooking in sesame oil is the secret to the wonderful flavor in Chinese Chicken with Cashews.
Day 2
Crockpot Roast Beef & Gravy // Easy 15 Minute Microwave Acorn Squash // Rice
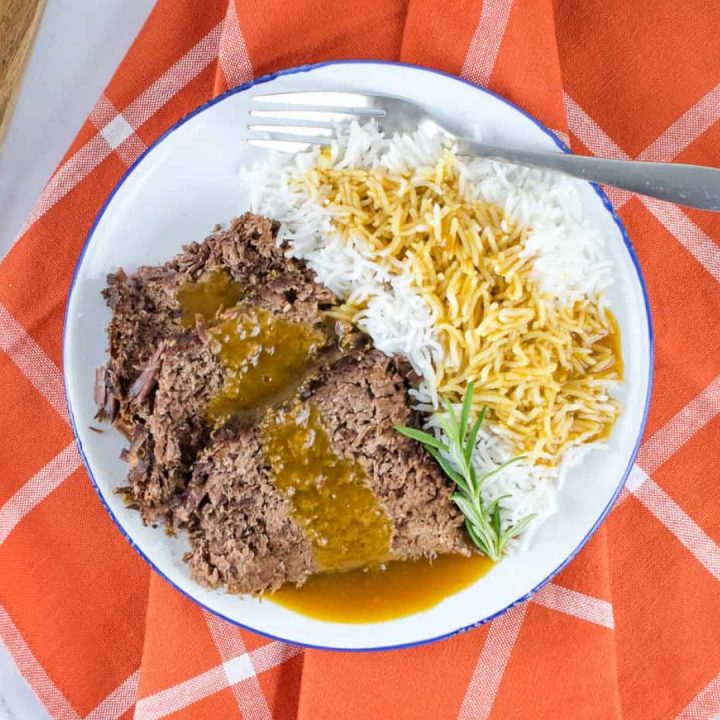
Easy Crockpot Roast Beef & Gravy
The easiest roast beef also happens to be the tastiest! Just season, place in the crockpot, and cook on low all day. This simple roast yields the most heavenly gravy, so be sure to serve it with rice or mashed potatoes.
Day 3
Chicken Enchilada Soup (15 Minute Meal) // Green Salad with Mexican-Style Dressing
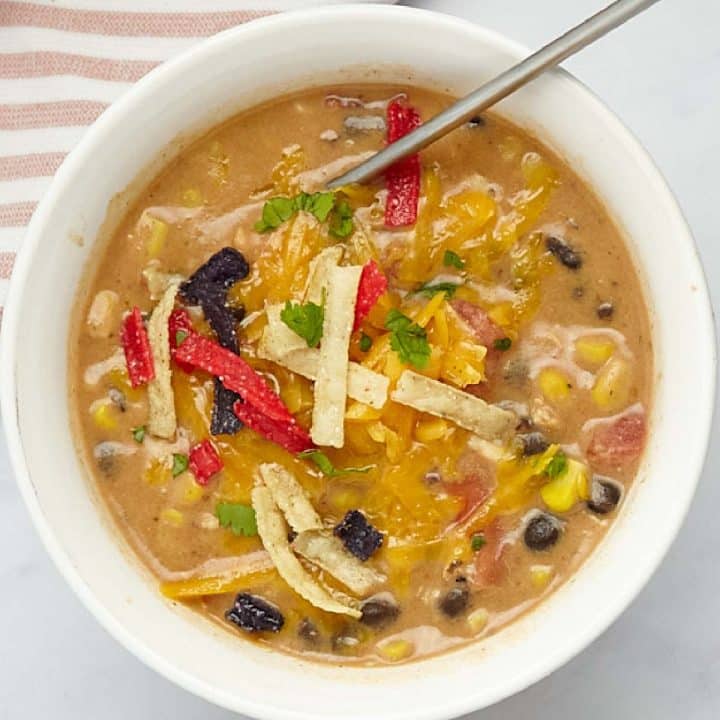
Creamy Chicken Enchilada Soup (15 Minute Meal)
Perfectly seasoned and full of flavor, one pot Creamy Chicken Enchilada Soup is a deliciously quick & easy dinner for a busy day. Serve with a salad and you have a healthy dinner on the table in 15 minutes.
Day 4
Crockpot Chicken Drumsticks // Stir-Fried Squash & Bell Pepper with Garlic

Crockpot Chicken Drumsticks
With prep time of under 5 minutes, these delicious fall-off-the-bone crockpot chicken legs are a cinch to put on the table on a busy night.
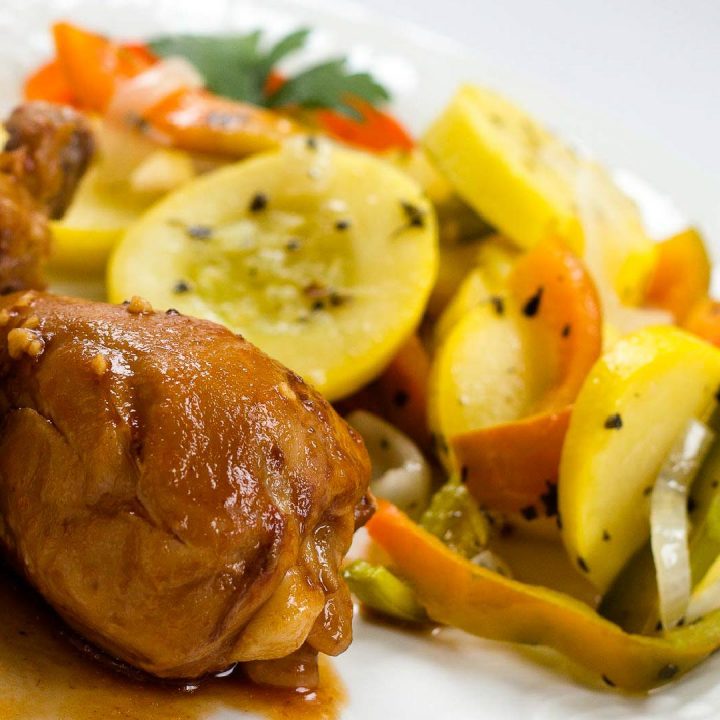
Stir Fried Squash & Bell Pepper with Garlic
Squash and bell peppers sautéed with onions, bell pepper, and garlic make a delicious fresh side that is quick and easy to prepare.
Day 5
Open-Faced Hot Roast Beef Sandwiches // Mashed Potatoes // Roasted Garlic Broccoli
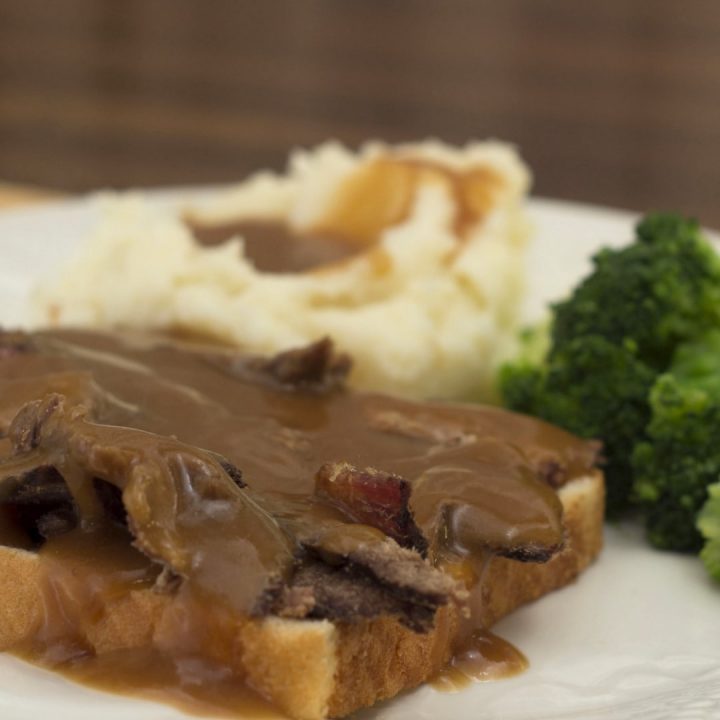
Hot Roast Beef Sandwiches
Open-faced hot roast beef sandwiches with gravy are a wonderful way to use leftovers in a familiar comfort food.
Create a shopping list
To print the notes for each day, after clicking the Shopping List button, click Print Collection.


Leave a Reply