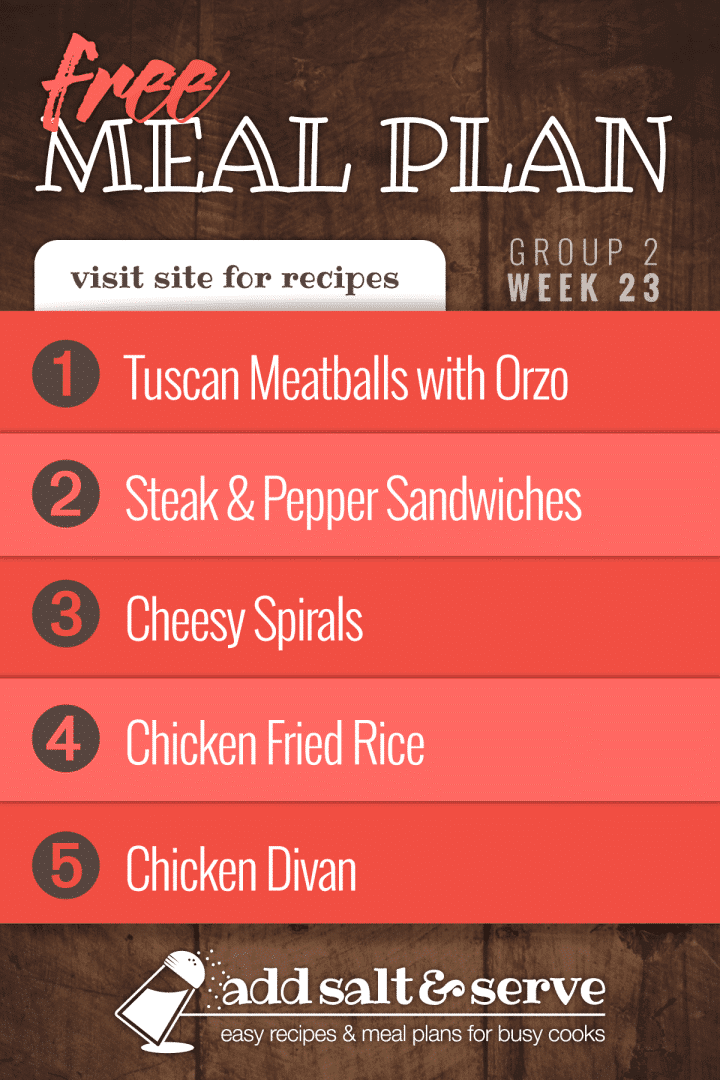
Week 23 Summary |
||
|---|---|---|
Notes for this week |
||
|
||
Day 1 |
||
| Tuscan Meatballs with Orzo Pasta | Slow-Simmered Green Beans | |
Day 2 |
||
| Steak Sandwiches with Cheese and Peppers | Mandarin Pineapple Salad | |
Day 3 |
||
| Cheesy Spirals | Green Salad | |
Day 4 |
||
| Chicken Fried Rice | Egg Drop Soup | |
Day 5 |
||
| Chicken Divan | Green Salad | |
Day 1
- Tuscan Meatballs with Orzo Pasta
- Slow-Simmered Green Beans
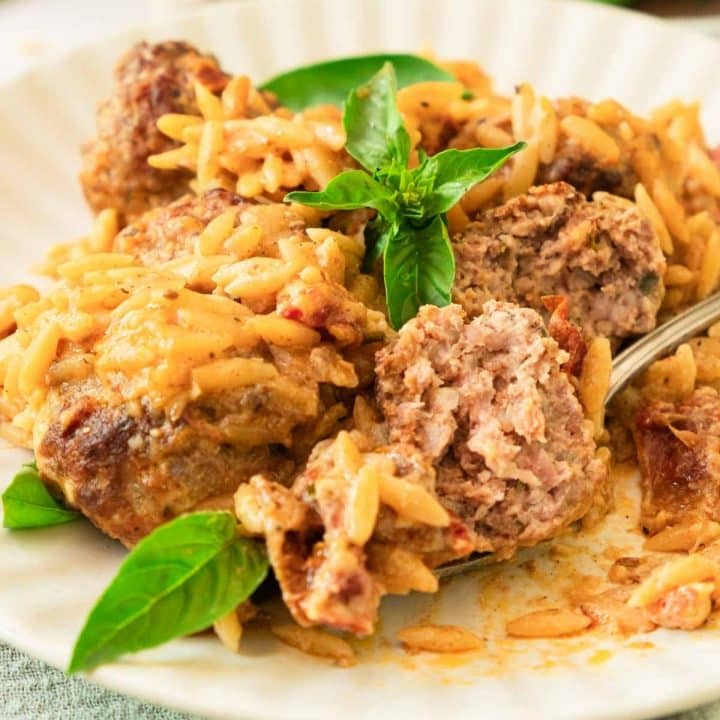
Tuscan Meatballs with Orzo Pasta
Tuscan Meatballs with Orzo Pasta is impressive enough for company but still simple enough for a Tuesday night. Tender meatballs and tiny orzo simmer in a rich sauce loaded with sun-dried tomatoes that is finished with garlic, sour cream, and Parmesan for a cozy, rich-but-not-heavy dish that makes everyone want to go back for seconds.
Day 2
- Steak Sandwiches with Cheese and Peppers
- Mandarin Pineapple Salad
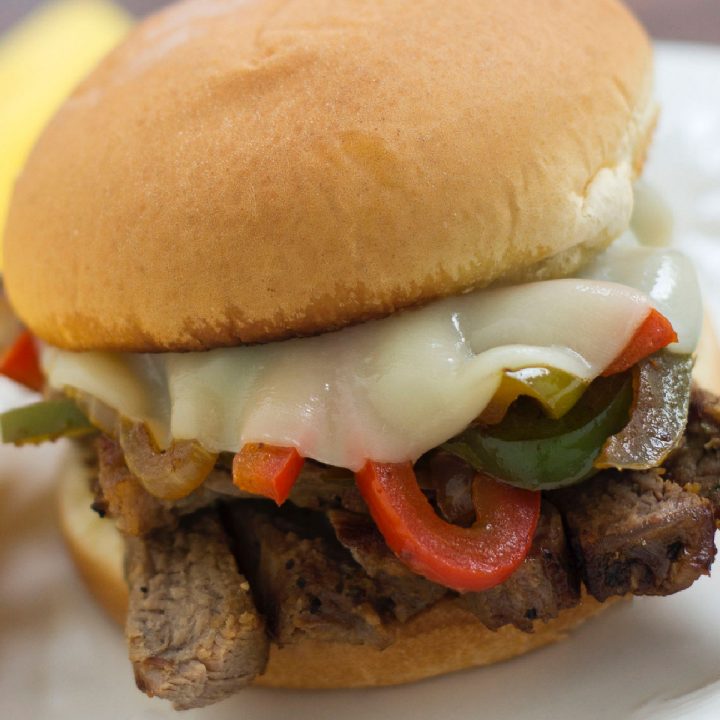
Steak Sandwiches with Cheese and Peppers
These steak sandwiches are quick and easy to make and fun and delicious to eat.
Day 3
- Cheesy Spiral Pasta
- Green Salad
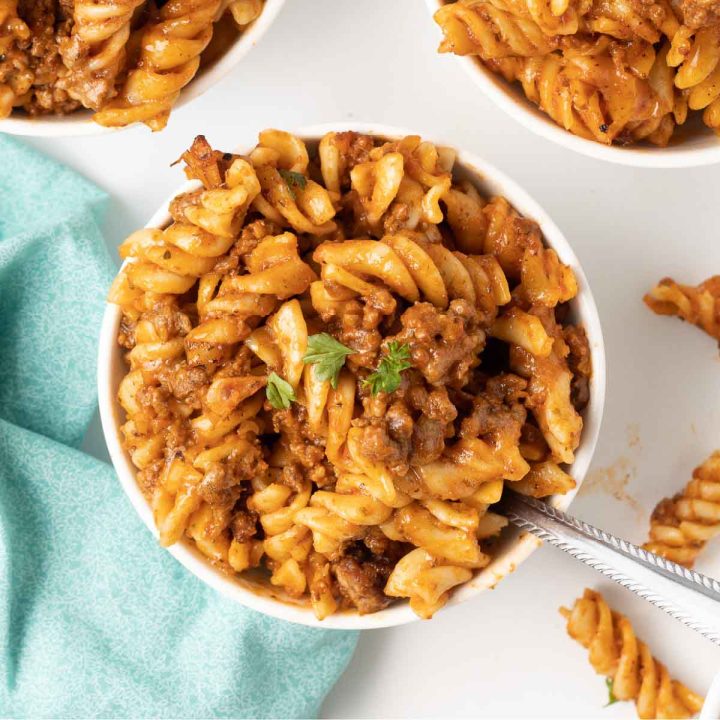
Cheesy Spiral Pasta
Cheesy, tomatoey, beefy... this easy casserole for the freezer is satisfying and delicious. It's quick to put together and makes two pans - one for dinner and one for the freezer.
Day 4
- Chicken Fried Rice
- Egg Drop Soup
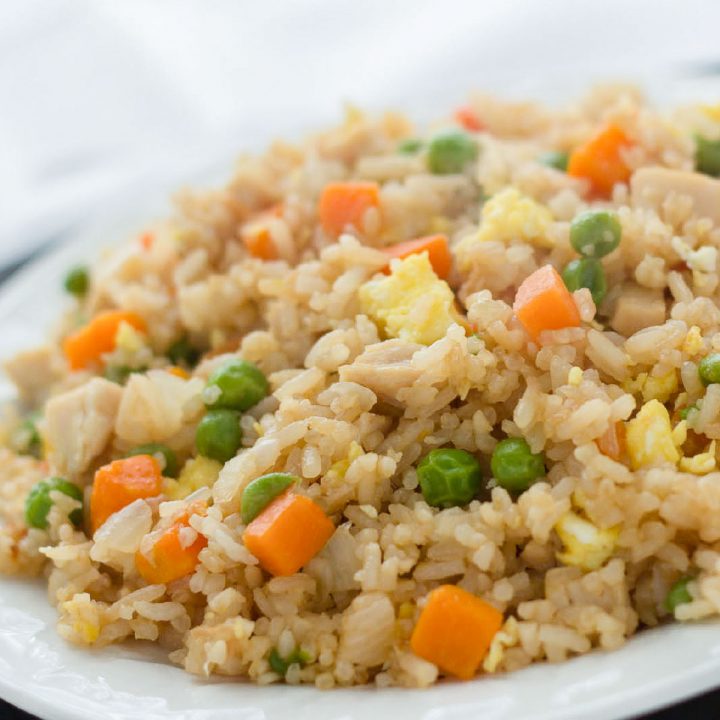
Chicken Fried Rice
This Chicken Fried Rice is an authentic recipe that I learned to make when we lived in Japan. It can be made with most any meat, or you can make it vegetarian.
Day 5
- Chicken Divan
- Green Salad
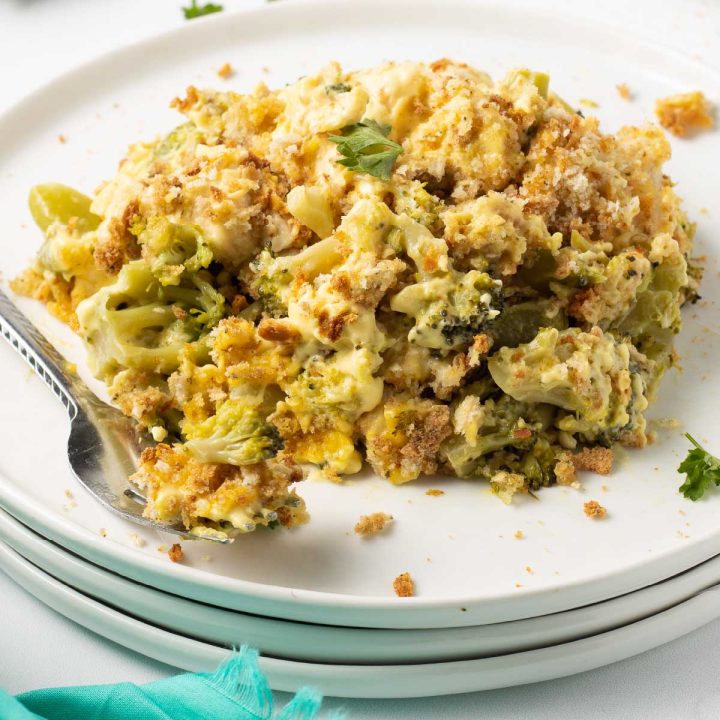
Chicken Divan
Oven-baked Chicken Divan with Curry features chicken, broccoli, and a delicious creamy curry sauce. This long-time family favorite is an easy way to repurpose leftover chicken or broccoli.
Create a shopping list
To print the notes for each day, after clicking the Shopping List button, click Print Collection.

Leave a Reply